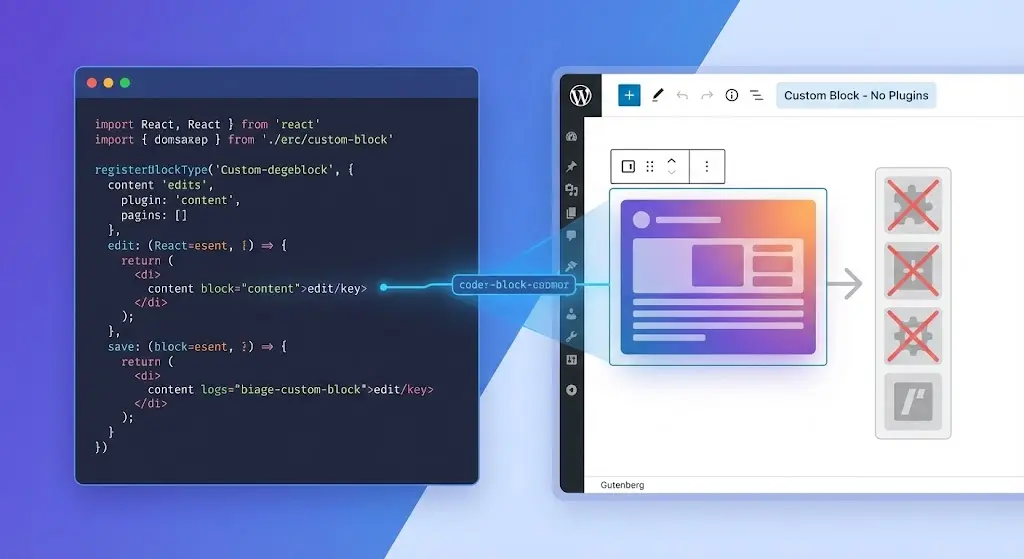
A custom block does not require a block-library plugin. You can register one from your WordPress theme. The important qualification is that the block then belongs to that theme: switch themes, and its registration may disappear.
This tutorial builds a small, editable notice block with one rich-text field, shared editor/front-end CSS, and saved HTML that WordPress can validate. It uses a conventional PHP-rendered WordPress site, WordPress 6.8 or newer, and an active custom theme. You need Node.js on your development machine to compile the block, but visitors do not need Node.js or React shipped to the front end for this example.
Before writing code, choose the right home for the block. WordPress recommends registering custom blocks in plugins so editors can keep using them after a theme change. A theme-owned block is a reasonable choice when its behavior is specific to one theme and its lifecycle is managed alongside that theme. "Without plugins" here means no custom WordPress plugin or third-party block library; it does not mean skipping the WordPress development packages.
What the block will store
Consider this notice:
Registration closes Friday. Check the event details before submitting.
An editor should be able to change the sentence and apply bold or italic formatting. The published page should contain ordinary HTML, not an interactive React application. The data flow is:
block.jsondescribes the block and itsmessageattribute.- The JavaScript
editcomponent changesmessagein the WordPress editor. - The
savecomponent writes an HTML paragraph inside the block wrapper. - WordPress stores that HTML in
post_contentand reads it back when reopening the editor.
This is a static block. Its output changes when an editor saves a post, not when a visitor requests a page. For data that must change on every request, a PHP-rendered dynamic block is a different design. See the WordPress static and dynamic rendering guide.
Set up a single-block theme build
Work inside the active theme, or its child theme if the customization belongs there. A classic or block theme can register a custom block; this walkthrough does not require Full Site Editing.
wp-content/themes/mytheme/
├── functions.php
├── package.json
├── src/
│   ├── block.json
│   ├── index.js
│   └── style.scss
└── build/                 # generated; not written by hand
From the theme directory, initialize npm and install the build tool and every WordPress package imported by the block. The following example uses Node.js 22.13+ and package versions targeted at WordPress 6.8:
npm init -y
npm install --save-dev @wordpress/scripts@37.0.0 \
  @wordpress/blocks@wp-6.8 \
  @wordpress/block-editor@wp-6.8 \
  @wordpress/i18n@wp-6.8
npm pkg set 'scripts.build=wp-scripts build' 'scripts.start=wp-scripts start'
The wp-6.8 npm dist-tags select WordPress package releases intended for that core version. If your site runs another WordPress version, select its matching wp-X.Y tags before building. These names are npm development dependencies, not plugins installed on the WordPress site. The exact resolved versions belong in the generated package-lock.json; commit that lockfile and use npm ci for subsequent clean installs.
npm run start watches and recompiles during development. npm run build creates optimized production assets. The build reads the block.json in src/, discovers the editor entry point, and writes the corresponding files to build/. Keep build output with the deployed theme, but do not deploy node_modules.
The @wordpress/scripts documentation explains automatic entry-point detection and how to customize source or output paths. This example intentionally uses its default src to build layout. If you prefer the official scaffolder, @wordpress/create-block --no-plugin can generate block files without generating a plugin, but you still need to wire them into your theme.
Declare the block in block.json
Create src/block.json:
{
  "$schema": "https://schemas.wp.org/trunk/block.json",
  "apiVersion": 3,
  "name": "mytheme/notice",
  "title": "Notice",
  "category": "text",
  "icon": "megaphone",
  "description": "A short, editable announcement.",
  "textdomain": "mytheme",
  "attributes": {
    "message": {
      "type": "string",
      "source": "html",
      "selector": ".notice-message",
      "default": ""
    }
  },
  "supports": {
    "html": false
  },
  "editorScript": "file:./index.js",
  "style": "file:./style-index.css"
}
The name mytheme/notice is the block's persistent identifier, not just a CSS class. Choose a unique namespace you control, and do not casually rename it after publishing posts.
The message attribute uses source: "html". That tells WordPress to recover the paragraph's inner HTML from the saved markup. If the editor contains <strong>Important</strong>, treating the value as ordinary text during saving would escape those tags. The Attributes API defines how these sources are parsed.
The editorScript file is only required in the editor. The style asset is shared by the editor and published page. The stylesheet name is deliberate: importing style.scss in the JavaScript entry point produces style-index.css with the default scripts build.
Implement edit and save as a pair
Create src/index.js:
import { registerBlockType } from '@wordpress/blocks';
import { RichText, useBlockProps } from '@wordpress/block-editor';
import { __ } from '@wordpress/i18n';
import metadata from './block.json';
import './style.scss';

registerBlockType(metadata, {
  edit({ attributes, setAttributes }) {
    return (
      <div {...useBlockProps()}>
        <RichText
          tagName="p"
          className="notice-message"
          value={attributes.message}
          onChange={(message) => setAttributes({ message })}
          allowedFormats={['core/bold', 'core/italic']}
          placeholder={__('Write a short notice…', 'mytheme')}
        />
      </div>
    );
  },

  save({ attributes }) {
    return (
      <div {...useBlockProps.save()}>
        <RichText.Content
          tagName="p"
          className="notice-message"
          value={attributes.message}
        />
      </div>
    );
  },
});
Passing the entire metadata object to registerBlockType keeps the client-side registration and its attribute schema together. The matching PHP registration reads the same metadata from the compiled block.json. This form is documented in the Block Metadata API.
There are two details worth checking carefully.
First, useBlockProps() and useBlockProps.save() apply WordPress's block wrapper class and any supported wrapper attributes to the correct elements. Do not spread editor props onto a fragment or assume WordPress will inject the saved wrapper for you.
Second, RichText.Content is not interchangeable with <p>{attributes.message}</p>. The latter treats the HTML-formatted attribute as a text value. The former serializes the rich text as HTML, matching what the html attribute source expects. WordPress documents this distinction in the RichText reference.
The editor and the front end do different jobs. React powers the editor interface; the saved markup powers this static block on the public page. No viewScript is needed.
Add styles without leaking editor controls
Create src/style.scss:
.wp-block-mytheme-notice {
  border-inline-start: 4px solid currentColor;
  padding: 1rem 1.25rem;
  background: #f5f2ea;
  color: #242424;

  .notice-message {
    margin: 0;
    line-height: 1.5;
  }
}
WordPress derives wp-block-mytheme-notice from the block name. Keeping selectors scoped to that class avoids accidentally styling ordinary paragraphs elsewhere in the theme.
For a production theme, replace the example colors with your design tokens and check the block against the active site's dark mode and color overrides. A stylesheet being listed in block.json does not by itself guarantee accessible contrast in every theme configuration.
Register the compiled block from functions.php
Add this to the active theme's functions.php. Do not add a second <?php opening tag to a file that already contains PHP.
function mytheme_register_notice_block() {
    $block_dir = get_theme_file_path( 'build' );

    if ( file_exists( $block_dir . '/block.json' ) ) {
        register_block_type( $block_dir );
    }
}
add_action( 'init', 'mytheme_register_notice_block' );
register_block_type() reads the compiled metadata and registers the block on the server. The editor's JavaScript registers the matching name on the client. The path points to build, not src: WordPress needs the generated JavaScript, styles, and asset-dependency metadata, not source JSX.
The conditional keeps an unbuilt local theme from trying to register a missing block, but it also means that a forgotten build quietly prevents the block from appearing. Treat the presence of build/block.json and build/index.js as a deployment check, not an optional detail.
For a single block, register_block_type() remains supported. For larger collections, WordPress 6.8+ documents wp_register_block_types_from_metadata_collection() with a generated block manifest as a more efficient registration path. Do not switch to that API unless you actually generate the manifest. See server and client registration.
Build it and prove the content survives a reload
After installing dependencies and committing the generated lockfile, run the production build in the theme directory:
npm run build
With the default configuration, inspect the expected artifacts. If the build fails, do not proceed to the WordPress editor steps:
build/
├── block.json
├── index.js
├── index.asset.php
└── style-index.css
index.asset.php contains the WordPress script dependency handles and a version identifier generated by the build tool. The compiled editor entry point should not be enqueued manually a second time.
Now open a post in the Block Editor and perform these checks:
- Insert Notice from the block inserter and type a sentence containing a bold word.
- Save the post. Reopen the post editor and confirm the sentence and formatting are still there.
- Use the editor's Code editor view and check for a
wp:mytheme/noticedelimiter and a<p class="notice-message">inside the saved wrapper. - Visit the public post and confirm that the notice appears with CSS applied and without an unnecessary editor JavaScript bundle.
- Change the message, save again, and check the result. Then test keyboard editing and the site theme's available color modes.
These are manual acceptance tests, not results claimed to have been executed for this article. An installation with block restrictions, a restrictive role, unusual editor configuration, or missing build assets may need additional debugging.
When something breaks, trace the boundary
| Symptom | Likely boundary | Check first |
|---|---|---|
| Notice is missing from the inserter | PHP registration or block availability | build/block.json exists, init ran, name is unique, inserter restrictions permit it |
| Editor shows a script-loading error | Built assets or dependencies | build/index.js and index.asset.php exist; inspect browser console and network requests |
| Styling works in the editor but not on the site | Stylesheet metadata or theme CSS | style points to generated CSS; inspect the front-end request and cascade |
Bold text becomes literal <strong> markup | Serialization | save uses RichText.Content, not ordinary JSX text interpolation |
| Editor reports "This block contains unexpected or invalid content" | Saved HTML vs current save output | Compare original post markup with regenerated markup in the browser console |
That last failure is especially important. WordPress re-runs a static block's save logic to compare the result with the HTML already stored in the post. Changing the wrapper, child tags, or class names after publishing can invalidate existing instances. For intentional changes, keep the original format compatible or introduce a block deprecation and migration. Do not tell editors to recover every block as a deployment strategy.
When not to build this in a theme
Use a plugin when the block represents content that must remain editable across theme changes. A persistent staff profile, product data component, or shared editorial feature usually deserves that separation. The same reasoning applies to choosing the right content model before writing the block; custom post types and custom fields solve a different problem.
Use a block variation, block style, or pattern instead of a new block when the existing core blocks already provide the required behavior and you only need a preset layout or visual treatment. A custom block introduces a serialization contract that you will need to maintain.
Use a dynamic block when the front-end output depends on frequently changing server data. In that case, server-side rendering is a separate step, with its own escaping and cache considerations. Returning null from save alone does not implement that server render callback.
Finally, this walkthrough assumes WordPress renders the published HTML. If a separate Next.js frontend displays the content, you must decide how to consume rendered HTML or structured block attributes. The headless WordPress with Next.js guide covers that different architectural boundary.
The practical rule is simple: keep a theme-specific block in the theme only when losing its registration during a theme switch is an acceptable, planned tradeoff. For the notice example, the key engineering work is not the JSX. It is making the metadata, saved markup, generated assets, and registration path agree.